- Arthur, Magneto, MODOK and Spencer Join Marvel vs Capcom 3 RosterPosted 14 years ago
- Marvel vs Capcom 3 Box Art Found on Xbox Marketplace, Official?Posted 14 years ago
- New Marvel vs Capcom 3 Screenshots show Spider-man and Wesker in ActionPosted 14 years ago
- Wesker and Spiderman Confirmed for Marvel vs Capcom 3Posted 14 years ago
- Tron Bonne Confirmed for Marvel vs Capcom 3; Does That Confirm Mega Man Too?Posted 14 years ago
- Viewtiful Joe and Dormammu Confirmed for Marvel vs Capcom 3 with New ScreenshotsPosted 14 years ago
- Official Marvel vs Capcom 3 Box Art Revealed?Posted 14 years ago
- Thor and Amaterasu Confirmed for Marvel vs Capcom 3 with a Bunch of New ScreenshotsPosted 14 years ago
- New Marvel vs Capcom 3 Gameplay VideosPosted 14 years ago
- New Marvel vs Capcom 3 Characters Announced – Doom, Super Skrull, Chun-Li and TrishPosted 14 years ago
DIY Hoverboard: Here’s a Rough Guide
DIY Hoverboard: Here’s a Rough Guide
To purchase the best hoverboards costs a lot of money. While they may be cheaper than a Segway, the bottom line still is: they are expensive and cheap ones tend to explode. But the good news is that if you really want a self-balancing scooter but can’t afford to buy one, then you can build one. Then again, seeing this project through to the end is the only way for you to get your own personal two-wheeled scooter. So proceed only when you feel you absolutely can do this. Otherwise, it’s just a waste of cash.
What You Will Need
You’re going to need tools and parts to complete this project. First off, here are the needed tools:
- metric Allen key. Also called a hex key or Allen wrench, this is used for working with bolts and screws with hexagonal heads.
- Phillips screwdriver. You might want to get the set just in case. Although, this one works fine.
- silicon-based glue. You will need this for sealing.
You’ll need quite the few parts so make sure you have all of them:
- logic board
- gyroscope modules – these are also known as attitude boards
- LED lights – for use as status and front lights
- power button
- frame – this serves as housing for the components
- axle clamps
- wheels – you can choose your own wheel size, but common ones include the 6.5 inch, 8 inch and 10 inch wheels; this is also where the motor will be placed
- lithium-ion battery pack – make sure it is the 36V and 4.4Ah capacity variety
- footrests and switches – these are made of rubber
- plastic mounts – needed by the attitude board and pressure switches
- shell – you can choose your own color but make sure to base it on the size of the wheels you pick
- charger
- screws
To make sure you have all the compatible electronics, it’s best to purchase a Hoverboard Repair Kit which quite a few companies make.
How to Put the Pieces Together
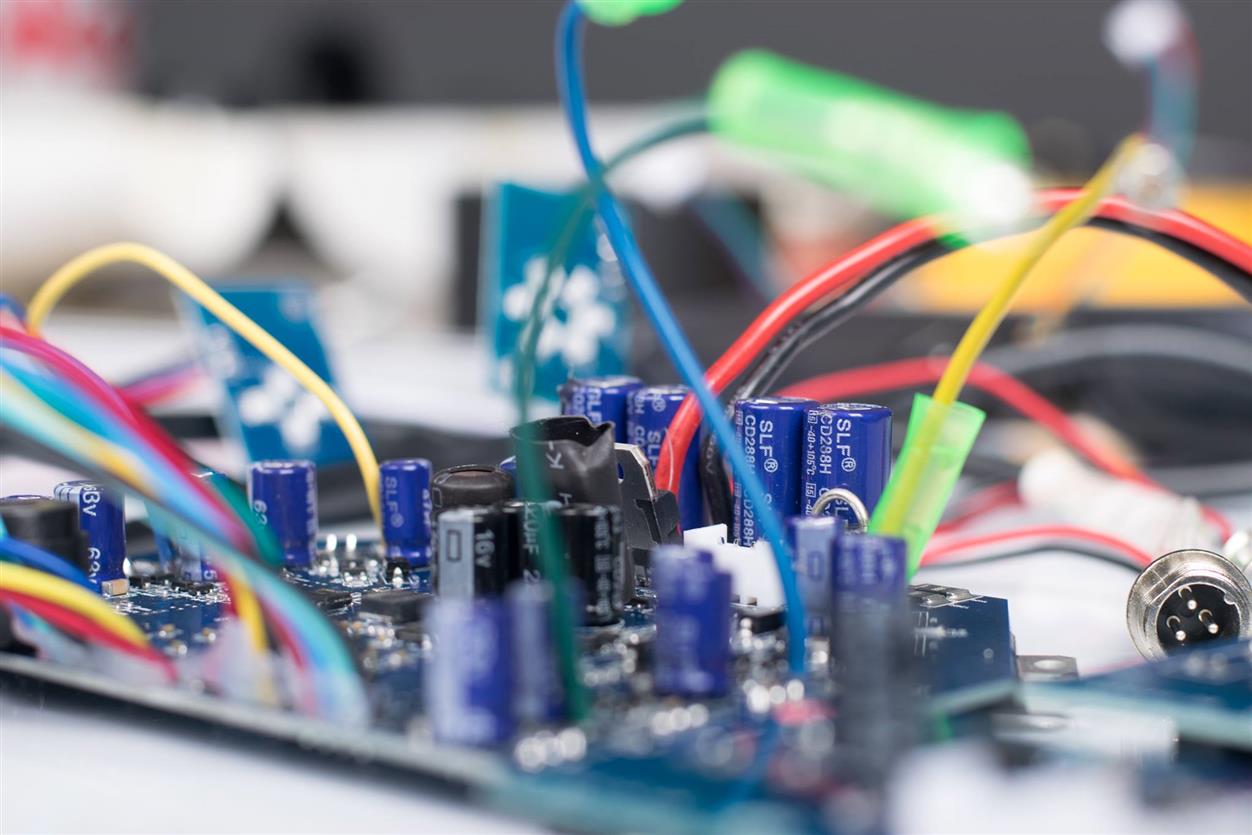
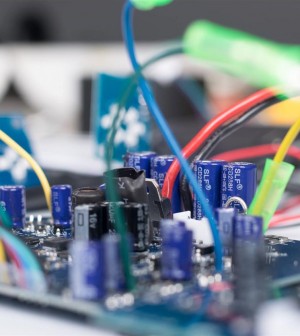
Internal Frame and Guts of a Hoverboard
Step 1: Assemble the frame
The left side of the frame will house the logic board while the right side of the frame will contain the battery. The four sockets you see on the frame is where the rubber switches will go on to. Set this aside after everything is screwed in place.
Step 2: Assemble the top shell
This is where the indicator lights go. The right side will house the cross LED which serves as the battery indicator LED while the left side will contain the round LED which will serve as balance indicator.
Step 3: Combine the frame and top shell
After placing the footpads on the frame, attach the top shell by ensuring the battery indicator and battery itself are on the same side. Attach the wheels to the frame then connect the attitude board to their plastic bracket mounts.
Step 4: Dealing with wiring
This part can get tricky but you can start on the logic board side first. To not complicate things, just plug in the same-colored connectors to each other.
Once you plug in the speed control, you can screw the attitude board on top of the rubber switches. Connect it to the logic board’s cable. Then, plug the shell’s LED indicator wire to the attitude board’s white connector. The same will be done for the motor connectors on the other side.
Step 5: Work on the bottom shell
Remove the ring around the charging port cable then thread the white connector in the spot nearest your DIY self-balancing scooter’s center. After tightening the ring, get the cable of the power button then thread it through the shell’s other hole.
Screw a LED front light to the shell and make sure to do the same thing for the other side. Seal the edges of the port with glue and do the same for the LED lights and power button to protect them from the weather and keep them in place.
Step 6: Combine the frame and bottom shell
Make sure the bottom shell lines up with the logic board. Another set of wiring tasks begins: connect the 4-pin cables of the charging port and logic board. Do the same for the 2-pin connectors. The cable for the front LED light should be plugged into the attitude board’s empty connector. Make sure to do similar for the other side. Connect the battery connector to the logic boar’s battery cable.
After all is done, screw the bottom shell onto the frame.
Just make sure not to screw it up, because you certainly don’t want it to blow up as seen below:

Hoverboard Fire Prevention is In Your Hands

